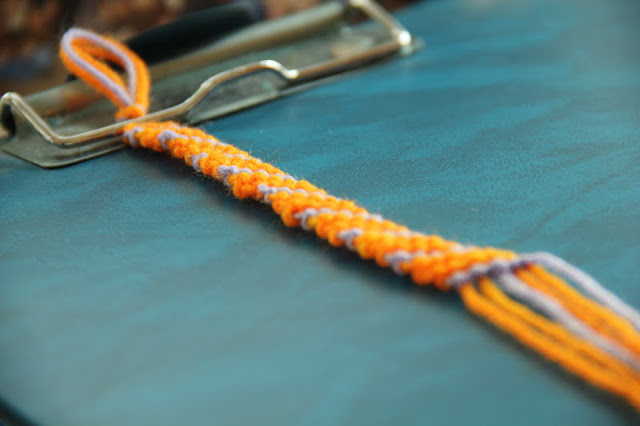
As I promised you all, this post is dedicated to most of you who asked me to write a DIY blog post about friendship bracelets (Here). Friendship bracelets are a huge trend this summer, they add a pop of color to your wrists -known as arm candy-, and I am soo obsessed with these cuties.
After soo many tutorials on how to do them, I finally know how to make my very own friendship bracelet, yeppyyy!!!! And now, I am going to show you the DIY steps for the easiest friendship bracelet type; the Candy Stripes...
Here is a simple step by step picture tutorial on the classic easy candy stripes bracelets. And you will be needing the following:
Before we start, I have this little tip for you guys. When creating the knots -which you will see in the steps below-, try not to tighten it too strong or keep it very loose, it will either make the bracelet look curled or incompact!! Doing this lovely friendship bracelet needs practice until you perfect it. =)
For better results, use these kind of threads, as they are less fuzzy and better in terms of quality
Step 1:
To start with, cut 6 strands of embroidery threads at about 70 centimeters long each -any of your fave colors-. Combine the threads and create a little loop -of an inch long- with a knot, as shown in the pic below. Then attach it to the clipboard.
Step 2:
Using your very left thread -Number 1 in the pic below-, bring it over thread No.2 and create the shape (4).
After creating the shape (4), bring thread No.1 behind strand No.2, and back to the front; creating a knot. Make the same knot TWICE over each thread, to create the pattern desired.
After creating the shape (4), bring thread No.1 behind strand No.2, and back to the front; creating a knot. Make the same knot TWICE over each thread, to create the pattern desired.
Step 3:
Continue doing step 2 with the same thread -No.1- till you reach the last thread -No.6-. The first row is now complete!
Step 4:
When you're done with the first row, continue with the next color on your very left, which is now the outermost strand -thread No.2.-. Do the similar steps used in step 3, starting from thread No. 2 and so on untill your bracelet looks almost complete.
This is how your bracelet should look when all the rows are complete.
Step 5:
To support the rows and complete the bracelet, finish it with a little knot and two little braids.
Hope you guys are having a wonderful weekend...


4 comments:
niiice, imma try it! :D
I LOVE this ! I'll try to do this and i'll credit you of course.
www.obscurebeauty.net
www.danylostinreverie.blogspot.com
friendship bracelets remind me of my childhood and free periods at school ;p
lovely blog btw
do stop by and say hello at: http://rosegoldanatomy.blogspot.com
Serena Mariposa: Thanks for the lovely comment sweety... You should, and show me your bracelets once it's done... =D
Dany: Yes please, and show me your bracelet once it's done... Thanks alot for the lovely comment...
Sarah: I knooow loool, me too... Love love love your blog too.. =D
And thanks alot for the adorable comment... =D
Post a Comment